
Food
Pâte Brisée Apple Pie: Cold Butter, Overnight Apples and No Lost Juice
A lattice-topped, all-butter apple pie with peeler-shaved butter, a 24-hour chilled filling and optional rum raisins. Start a day ahead.
Jump to recipe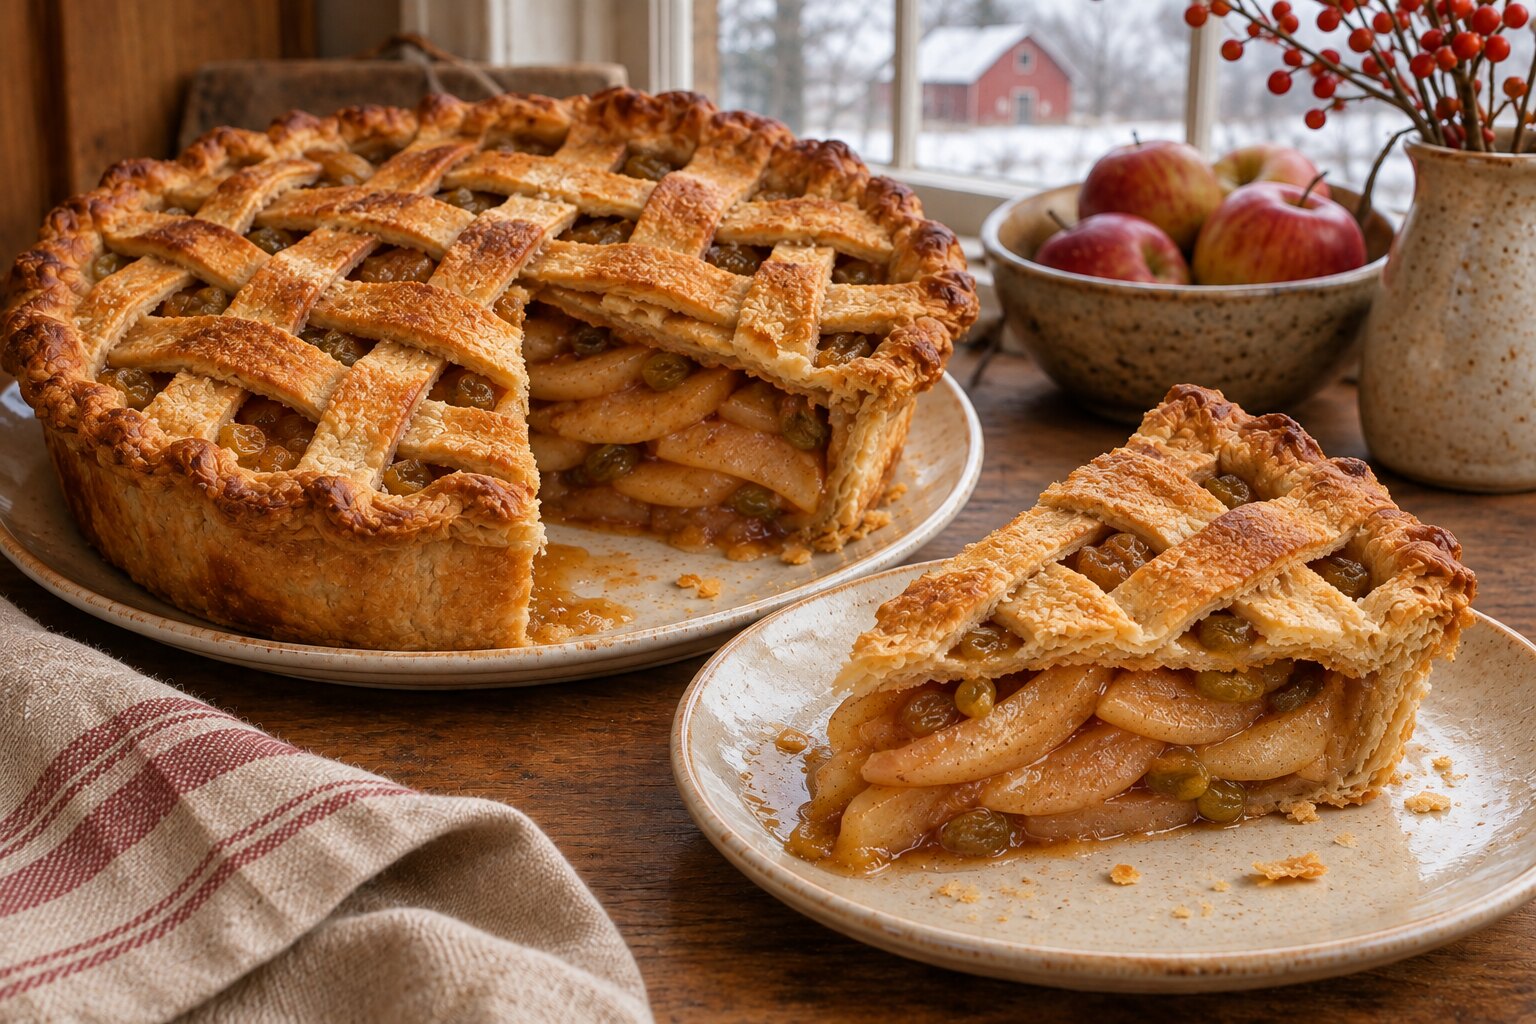
A Thanksgiving pie should taste of butter and apples, not of the panic involved in making it. This version asks for a day of planning, then pays that patience forward: cold pastry, an apple filling whose juices are accounted for, and an optional handful of rum-soaked raisins for anyone who wants a little extra holiday character.
The crust is pâte brisée, a lightly sweetened, all-butter pastry. Here, a vegetable peeler does the first bit of mixing: shave the butter straight into freezer-chilled flour, tossing the ribbons as you go. The aim is to keep small, visible pieces of butter rather than make a beautifully uniform bowl of greasy flour. Uniformity has its place. This is not it.
Cold is a sequence, not a single instruction
Vanessa’s approach builds in several cold stops: flour before mixing, dough after mixing, the lined pan after rolling, and the whole pie before baking. These pauses are part of the method. If the dough becomes shiny, sticky or difficult to lift, put it back in the refrigerator instead of adding a blizzard of flour and hoping for the best.
The counter trick is deliberately simple. A sealed zip-top bag of ice and cold water can cool a suitable stone work surface before rolling. Remove it, dry the counter thoroughly and work on a lightly floured area. Follow the surface manufacturer’s care instructions; a chilled pastry board is an equally useful option. The bag cools the workspace. It is not an extra ingredient.
Which apples belong in this pie?
For the 1 kg of prepared fruit in this recipe, the recommended blend is 600 g Granny Smith and 400 g Braeburn or Pink Lady. That is a flavor choice, not a rule of pastry law: a tart base keeps the brown sugar and butter from becoming the whole conversation.
Granny Smith: the anchor for a bright, tart filling and distinct slices. In King Arthur Baking’s side-by-side pie comparison, Granny Smith retained its shape with a crisp-tender texture. Use it for most of the fruit here; an all-Granny pie is an option for committed tart-apple fans, but bake until those center slices are tender.
Braeburn: a good partner when the pie needs sweetness without abandoning a firm-textured apple. The Washington Apple Commission describes a crisp apple with balanced sweetness and a hint of spice. Use it for the remaining 400 g in the suggested blend.
Pink Lady: another useful blending apple when you want sweetness with acidity still in the picture. The Washington Apple Commission lists Cripps Pink for baking and describes its sweet-tart character. It can replace Braeburn weight for weight.
Golden Delicious: choose this when you prefer a sweeter, softer filling rather than quite so much bite. Pillsbury’s baking guide identifies that mild sweetness and softer result. For this pie, use it as the smaller portion alongside Granny Smith, rather than the entire batch.
Pick firm, sound apples, cut the slices evenly and weigh them after peeling and coring. Ripeness and storage affect the fruit in your actual bowl, so the colander-and-juice step remains useful whichever blend you choose.
Give the apples a day, and keep the juice
The sliced apples spend a full 24 hours with sugar, lemon and spices in the refrigerator. This is a cold maceration, not an invitation to leave cut fruit on the counter overnight. CDC food-safety guidance calls for prompt refrigeration of cut fruit and a refrigerator at 40°F or below.
On baking day, drain the apples in a colander over a bowl. Measure the liquid, reduce any excess separately, and let it cool before whisking in the cornstarch. That keeps the apple flavor in the pie while giving the filling a defined amount of liquid. The recipe below specifies the target; guessing how much syrup looks romantic is less useful.
Finally, bake until the filling bubbles through the center vents. King Arthur Baking’s thickener guide specifically notes that cornstarch needs a bubbling filling for full effectiveness. A brown crust alone does not tell you what happened in the middle. Let the finished pie cool fully, too. The hardest technical skill in pie making may be leaving the knife in the drawer.
Optional rum raisins: soak them separately, drain before adding, and use apple juice instead of rum when an alcohol-free variation is wanted. Choose golden or green raisins, or leave them out entirely for a straight apple pie. The serving illustration shows the raisin variation under a woven lattice. Vanilla ice cream is welcome; it does not need a committee vote.
Pâte Brisée Apple Pie: Cold Butter, Overnight Apples and No Lost Juice
- Prep
- 75 minutes
- Cook
- 85 minutes
- Total
- 1980 minutes
- Servings
- 8
Ingredient quantities scale with servings. Cooking times, temperatures, and equipment stay as written.
Equipment
- 9-inch metal pie pan, approximately 2 inches deep
- Vegetable peeler and sharp knife
- Digital scale, large mixing bowls and fork
- Rolling pin, parchment and a sealed zip-top bag for ice
- Colander, measuring jug and small saucepan
- Rimmed metal baking sheet, foil and cooling rack
- Pie server
- Pastry brush
Ingredients
Instructions
Day 1: macerate the apples
Wash the apples before peeling. Cut the prepared fruit into even slices about 1/4 inch (5–6 mm) thick. Toss with both filling sugars, lemon juice, cinnamon, nutmeg and filling salt. Cover and refrigerate for a full 24 hours at 40°F (4°C) or below, turning once or twice. If using raisins, combine them separately with the rum or apple juice, cover and refrigerate overnight.
Refrigerator: 40°F (4°C) or below · 1440 minutes
Chill the pastry ingredients
Whisk the pastry flour, sugar and salt in a large bowl; put the bowl in the freezer for 30 minutes. Chill the butter until very firm, with about 15 minutes in the freezer if needed. It should be cold enough to shave without smearing, rather than rock-hard. Keep the measured water icy.
30 minutes
Shave the butter into the flour
Hold the cold butter by its wrapped end and use a vegetable peeler to shave short, thin ribbons directly into the cold flour, keeping fingers clear of the blade. Every few strokes, use a fork to toss the ribbons in flour. Leave a mixture of visible flakes and small pieces; do not rub everything into a uniform paste. If the butter softens, refrigerate the bowl for 10 minutes before continuing.
Bring the dough together and rest it
Drizzle in three quarters of the ice water while tossing with a fork. Add the remainder a little at a time, stopping as soon as a squeezed handful holds together. Gather by pressing, not kneading. Divide about 55:45 for the bottom and top, flatten into disks and wrap. Refrigerate at least 2 hours; overnight, alongside the apples, is convenient.
Refrigerator · 120 minutes
Day 2: chill the work surface and roll
Place a sealed, leakproof zip-top bag of ice and a little cold water on a clean granite or stone work area for 10–15 minutes, if its care instructions permit. Remove the bag and wipe the surface completely dry. A chilled pastry board is an alternative. Let the larger dough disk become just pliable, then roll on a lightly floured surface to a 13-inch circle about 1/8 inch (3 mm) thick. Fit into the metal pan without stretching, leaving an overhang. Refrigerate 30 minutes. Roll the top to about 12 inches and refrigerate flat on parchment.
30 minutes
Collect the apple juices
Set a colander over a bowl, add the apples and let them drain for 30 minutes in the refrigerator. Keep all the collected juice. Meanwhile put a rimmed metal baking sheet on a rack in the lower third of the oven and preheat to 425°F (220°C), conventional oven. Give the oven and sheet at least 30 minutes to heat.
Oven: 425°F (220°C) · 30 minutes
Concentrate, then cool, the juice
Measure the drained juice. If there is more than 1/2 cup (120 ml), simmer it alone in a small saucepan until 1/2 cup remains; watch closely near the end. If there is less, use it all without adding water. Transfer to a shallow bowl and cool completely. Do not add cornstarch to the boiling reduction or pour warm syrup onto chilled pastry.
Make the filling
Whisk the cornstarch into the completely cool apple juice until smooth, then add the vanilla. Toss this mixture thoroughly with the drained apples. If using the soaked raisins, drain them and fold them in; do not pour the leftover soaking liquid into the filling. Keep the filling cool while handling the crust.
Fill and seal
Cut the chilled top pastry into 10–12 strips about 3/4 inch wide. Pack the apples snugly into the chilled bottom crust with a modest mound at the center; do not overfill the pan. Dot with the filling butter. Lay half the strips parallel across the fruit. Fold alternate strips back, lay a cross strip over the unfolded strips, then unfold; alternate which strips are folded back and repeat to weave an over-and-under lattice. Trim, fold and crimp the edges. Refrigerate 20 minutes. Beat the egg with its tablespoon of water; brush the pastry lightly and sprinkle with optional coarse sugar.
20 minutes
Bake until the center bubbles
Set the cold metal pie pan on the hot rimmed sheet. Bake at 425°F (220°C) for 20 minutes, then reduce to 375°F (190°C) and bake approximately 55–65 minutes more. Shield the rim loosely with foil if it darkens early. The crust should be deeply golden, an apple slice reached through a vent should feel tender, and the filling must bubble steadily through the center lattice openings. If it is only bubbling at the edge, continue baking and protect the crust as needed. Use these signs rather than the clock alone.
Oven: 425°F (220°C), then 375°F (190°C) · 85 minutes
Let the filling set
Cool on a rack for at least 6 hours before slicing. The long rest gives the hot filling time to settle; slicing straight from the oven will release more liquid. Serve at room temperature, or warm individual slices gently after the pie has set.
360 minutes
Store and plan ahead
Cover and refrigerate leftover pie, and use within 3 days. For Thanksgiving dinner, start the apples and pastry the morning before, bake the following morning and leave the afternoon for cooling. The stated total is an approximate 33-hour plan with overlapping chilling steps, not 33 hours of active work.
Notes
Makes one 9-inch deep-dish double-crust pie, 8 servings. Weigh flour, butter and prepared apples for the most consistent starting point. Oven temperatures are conventional, not fan settings. Use a metal pan for the cold-pan/hot-sheet method; do not put a chilled glass dish on a hot sheet. Golden or green rum-soaked raisins are optional; the serving illustration shows this variation. Filling juiciness and bake time vary by apple and oven. This is an original recipe developed from the supplied technique; it has not been kitchen-tested by Knuxy. Ingredient scaling does not automatically change pan size, baking time, chilling time or the 120 ml juice-reduction target; for a different yield, make separate pies of the original size.
More to explore

Food
Prime’s New Uber Eats Benefit: Zero Delivery Fee Isn’t a Zero-Fee Dinner
Amazon’s November 5 benefit applies to qualifying restaurant orders of $25 or more. Compare the final total, not just the delivery line.
Food
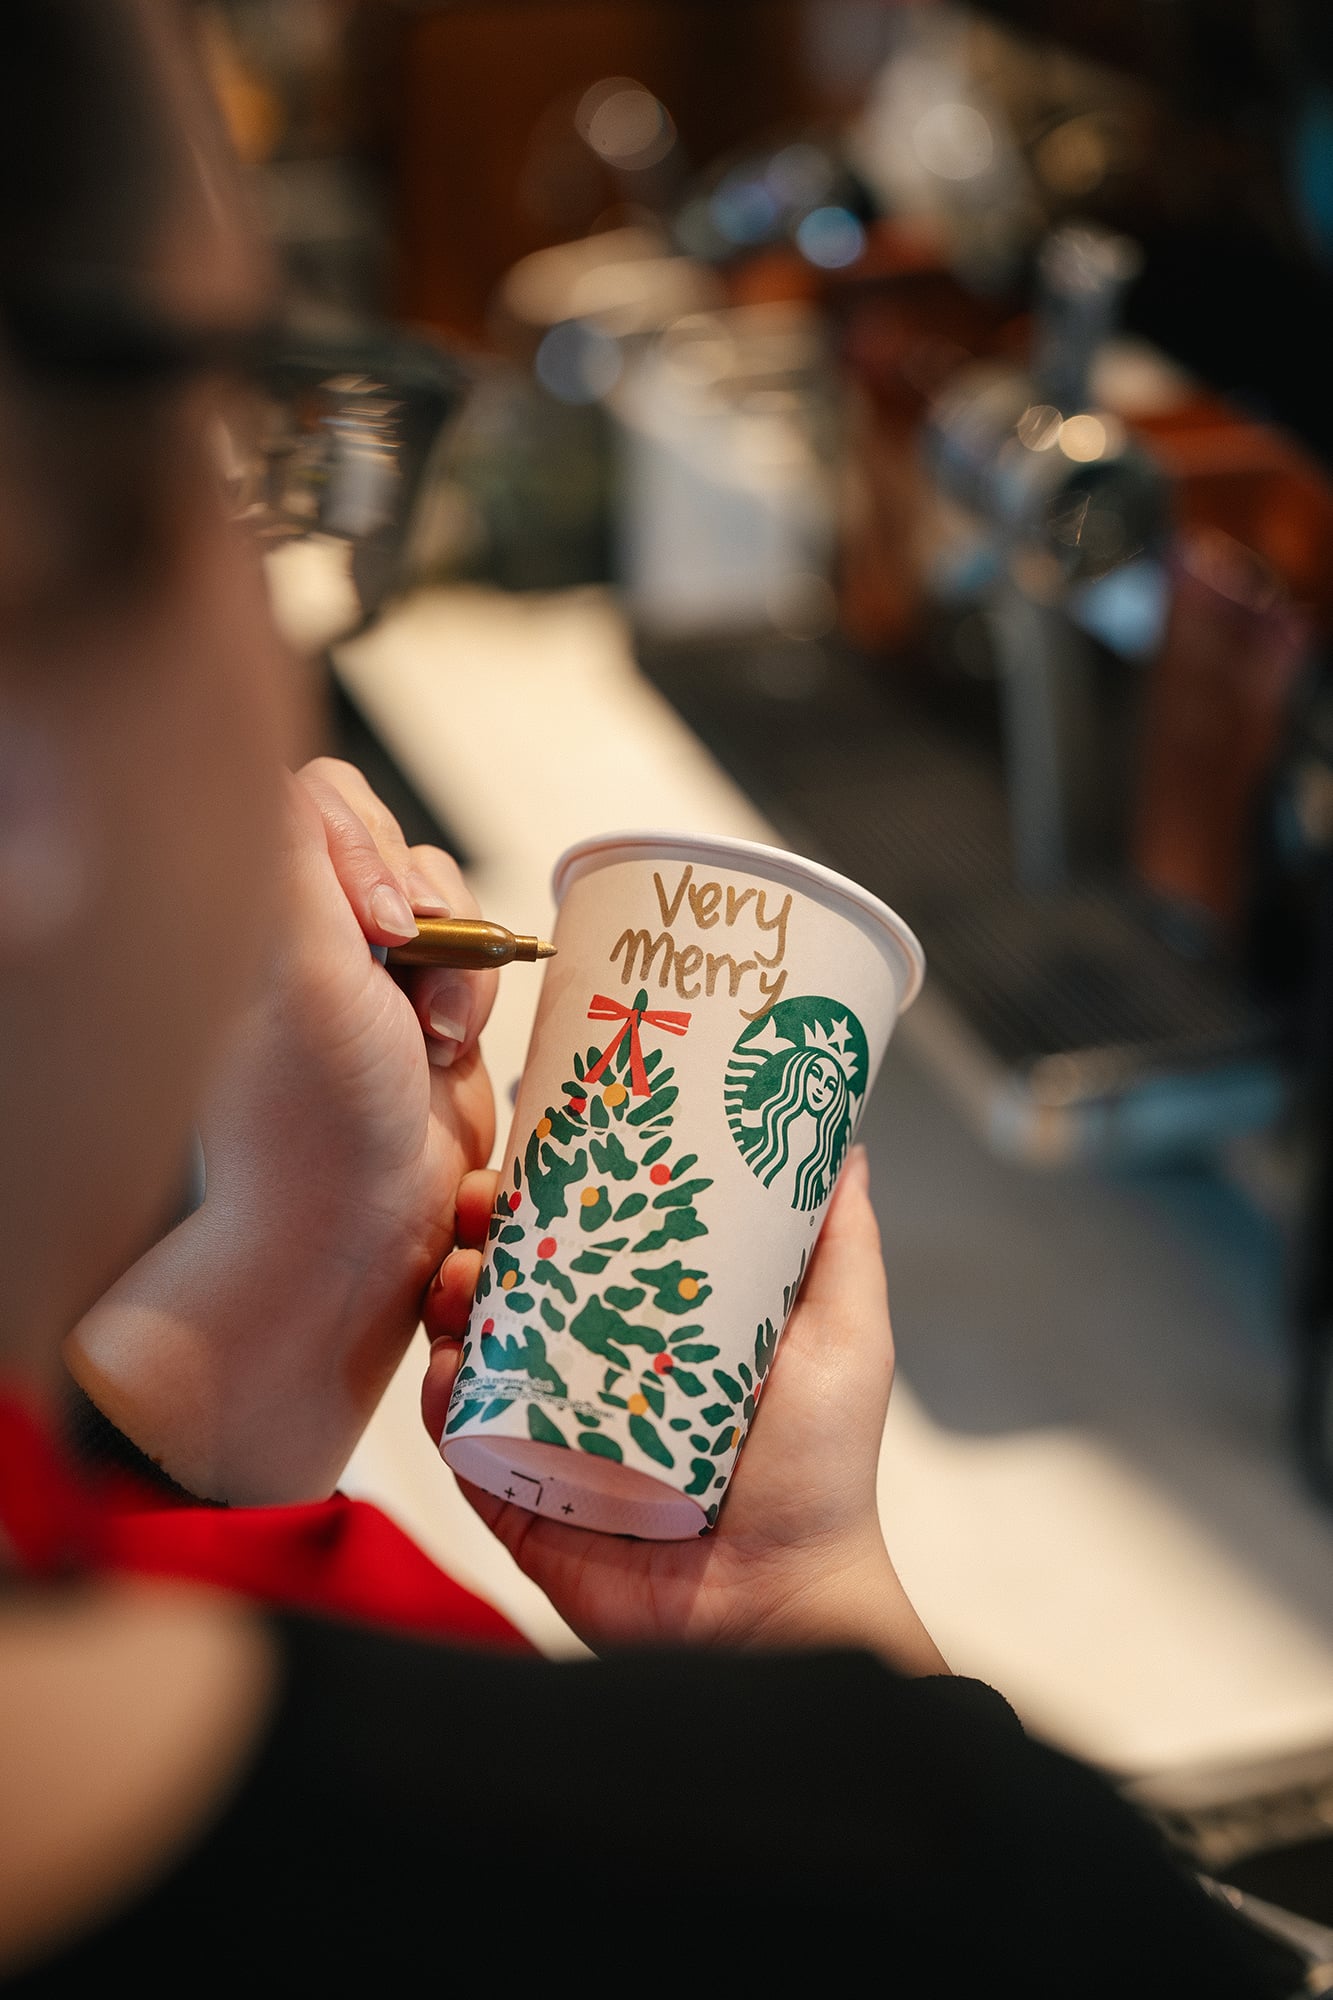
Starbucks’ Holiday Menu Arrives November 5. Red Cup Day Comes Later.
New drinks arrive November 5, but the reusable-cup promotion is a separate date. Here is what the announcement actually tells you.

Food
10 of the Best Steakhouses in Chicago, Matched to Your Night Out
Ten Chicago steakhouse picks for different occasions, from Basque beef and live-fire cooking to neighborhood dinners and a riverfront splurge.